A useful content campaign starts with a customer question. In this walkthrough, we use Bloggerly to develop an office-cleaning business brief into an article, a featured image, LinkedIn and X posts, and a plan for the next article.
The example is ClearDesk Office Care. Its audience is an office manager deciding what a recurring cleaning service should include. The article answers that buying question, while the social posts pull out practical points that can stand on their own.
The workflow covers brand setup, planning, editing, distribution and a ChatGPT connection through MCP. It also shows where to check the actual result: the finished article can differ from the planned length, a social draft may need rewriting, and scheduled content must not be confused with a live post.
What you need
- A Bloggerly account and a clear business brief.
- Your audience, service boundaries, writing preferences and intended call to action.
- Access to the WordPress site and social accounts you want to connect.
- A ChatGPT account with the custom connection capability available, if you want to follow the MCP portion.
1. Give Bloggerly a useful business brief
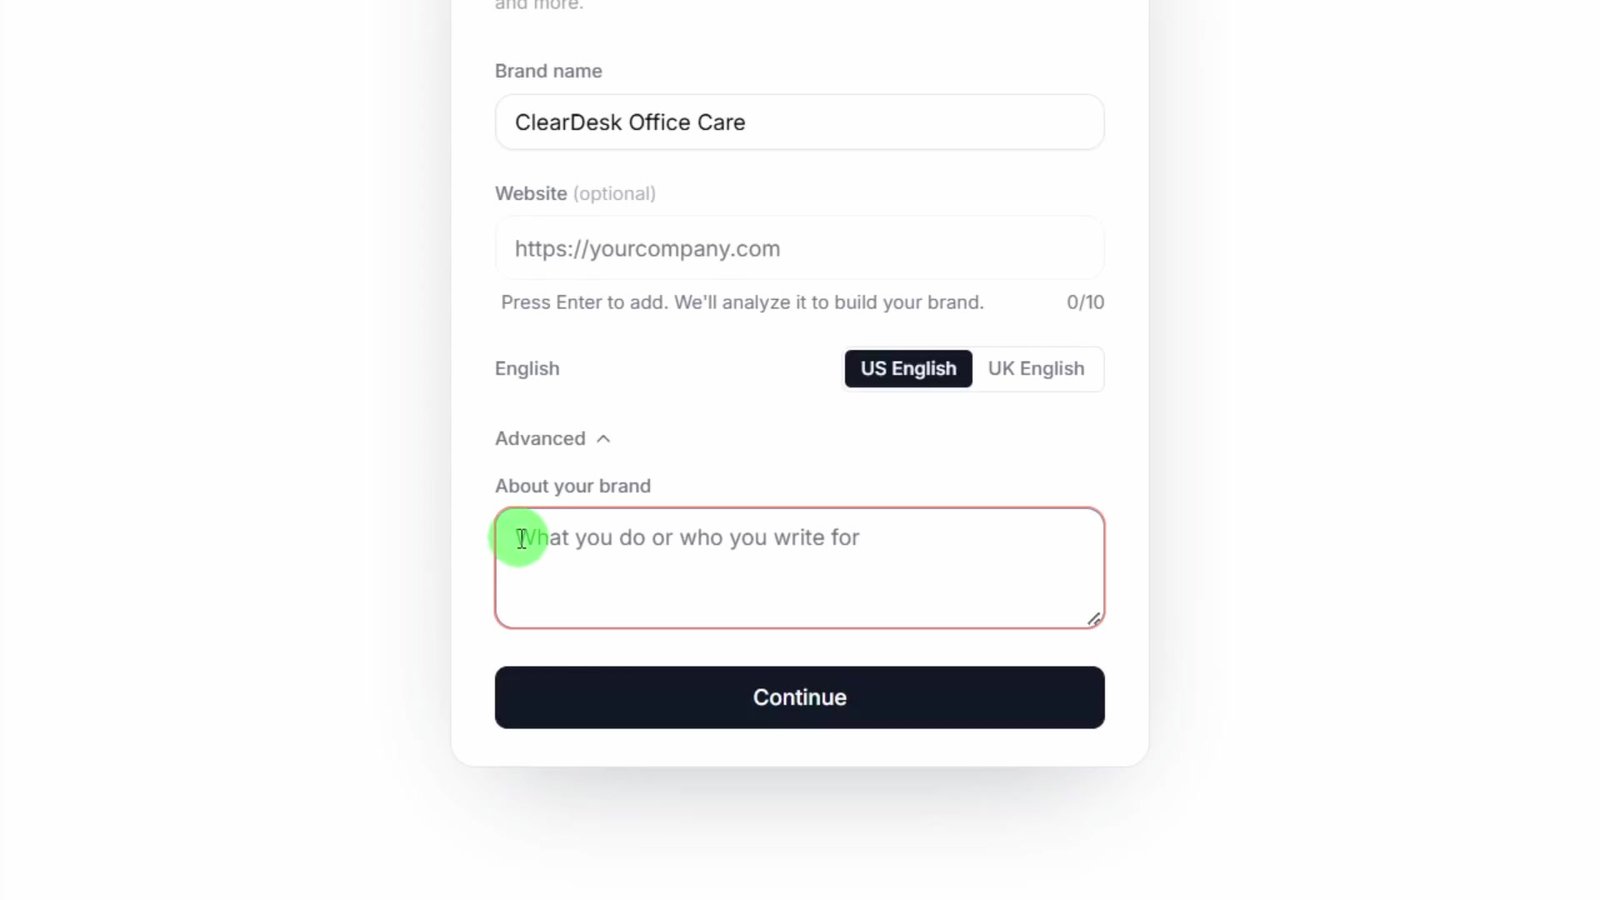
Sign in to Bloggerly and create a brand. In the walkthrough, the brand is ClearDesk Office Care. Enter the brand name, add your website if you have one, and expand Advanced to describe the business.
The brief needs more than an industry label. Explain who the business serves, what the customer is deciding, which services are included, and what the content should encourage them to do next. Here, the reader is an office manager comparing recurring office-cleaning services, and the next step is a written scope review and a tailored quote.
State boundaries just as clearly as the offer. If private desks, paperwork, equipment or specialist tasks are outside the regular service, make that explicit. This gives the content a practical basis and reduces the chance of an attractive but inaccurate service promise.
2. Save a writing style
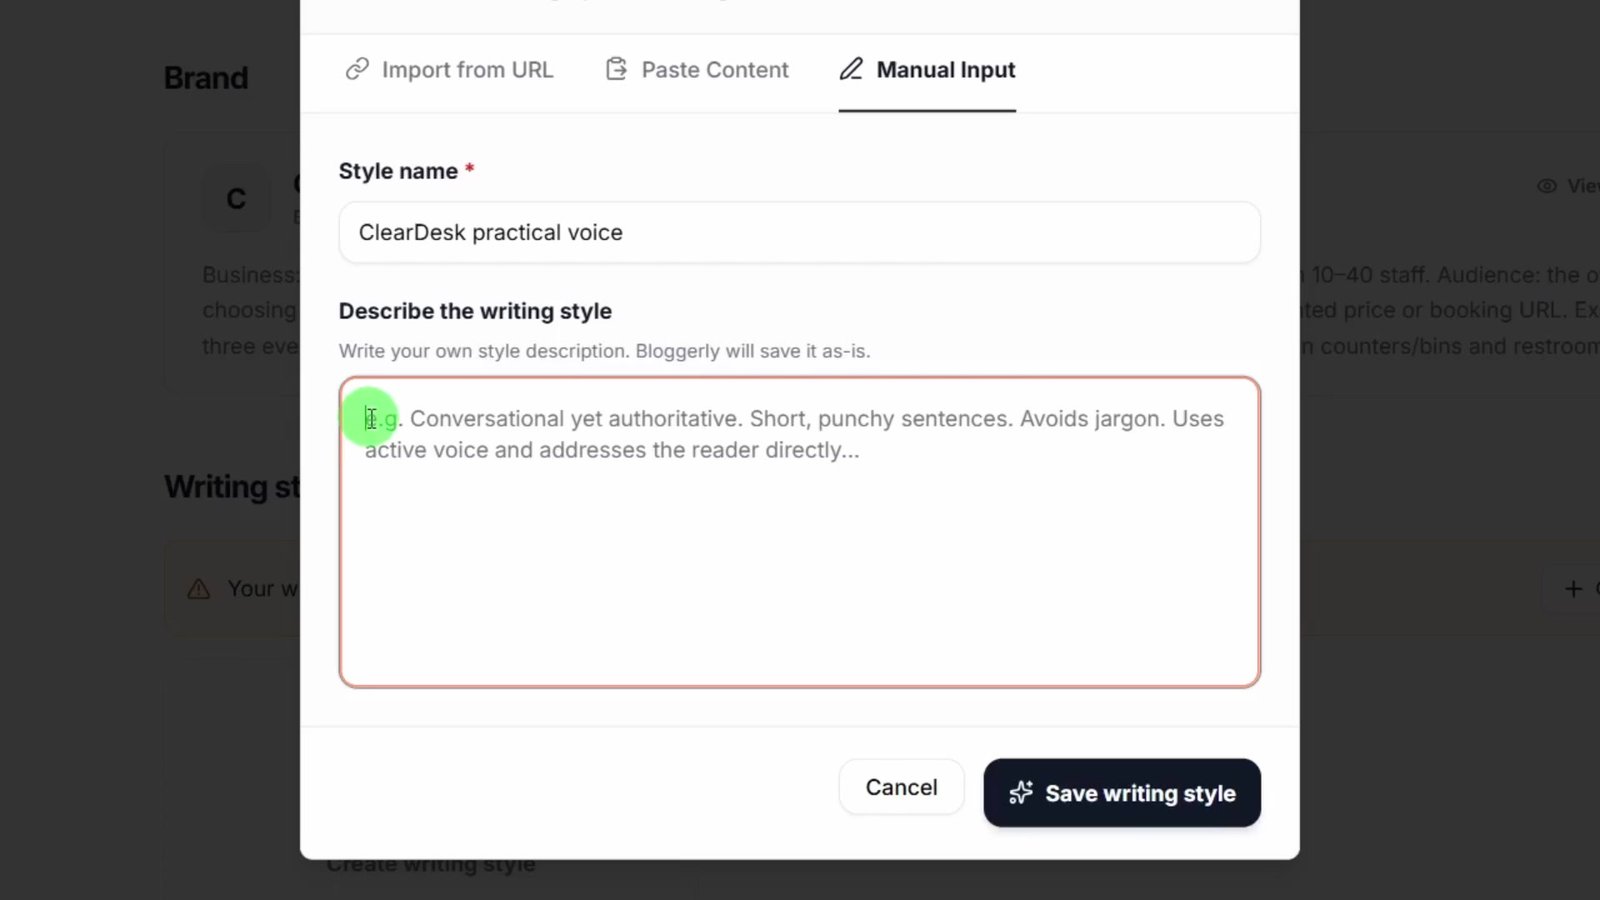
Open Brand details, select Create writing style and choose how to supply the style. The tutorial uses Manual Input; the screen also offers importing from a URL or pasting content.
Name the style so you can identify it later. ClearDesk uses a practical, calm and direct voice. Describe the language you want: plain explanations, useful examples, short paragraphs and no exaggerated promises. Save the writing style before beginning the content plan.
When reviewing a new post plan, check its selected style rather than assuming that creating a style automatically applied it to every post.
3. Plan connected topics around customer questions
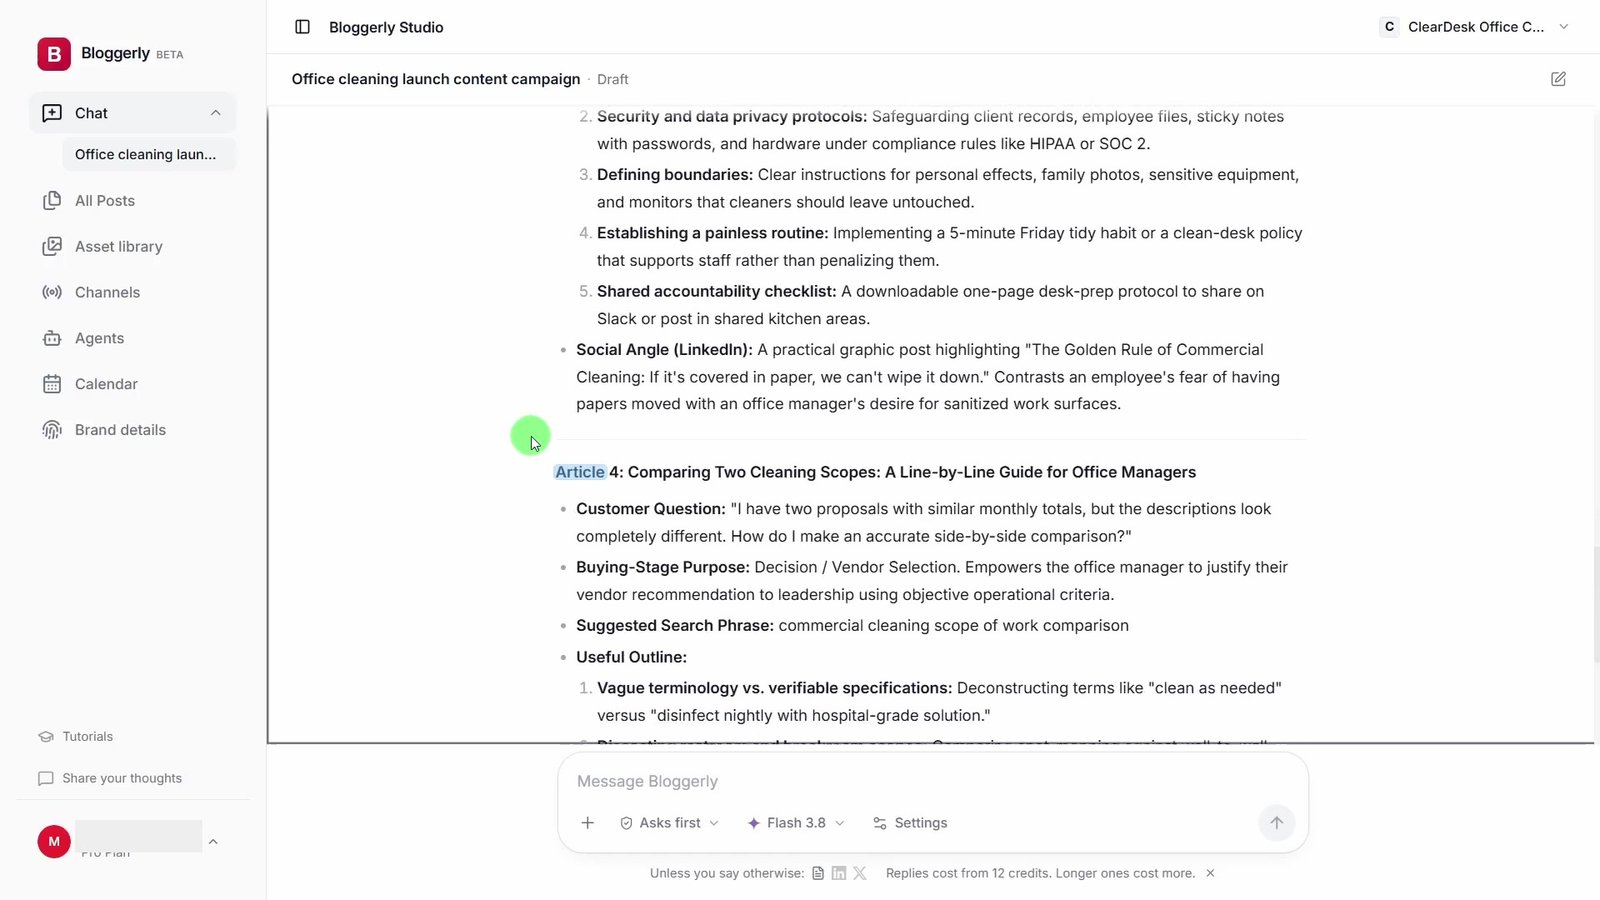
Open Chat and ask for a small editorial plan. The tutorial develops four related topics: what an office-cleaning quote should include, visit frequency, preparing desks before a visit, and comparing two written scopes.
Each topic answers a different question. The quote article helps the reader understand what to ask for; the scope-comparison article helps them evaluate the responses. This is more useful than four variations of a general article about keeping an office clean.
Use the ClearDesk brief to propose a two-week launch content campaign for an office manager comparing recurring cleaning services. Produce four distinct article ideas. For each, include the customer question, buying-stage purpose, useful outline, suggested search phrase and one social angle.
Review the ideas before creating anything. The broader editorial plan stays in the chat for reference; the next step turns one selected idea into a post plan.
4. Turn one idea into a post plan
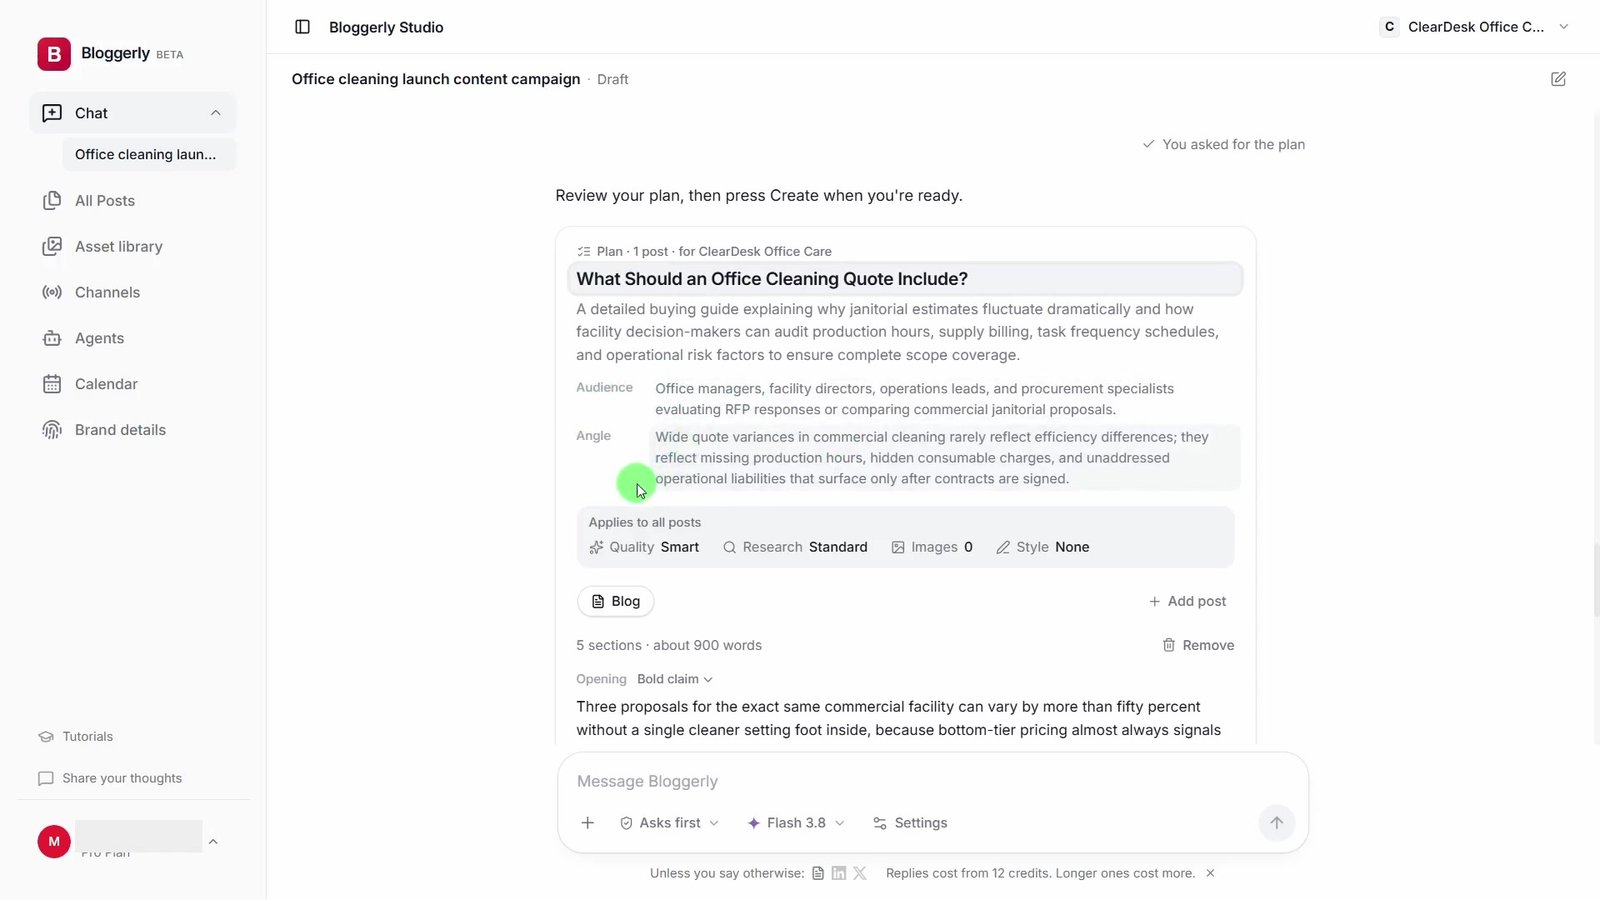
Ask Bloggerly to turn the first editorial idea into an actionable plan for one blog post. In this walkthrough, the selected title is What Should an Office Cleaning Quote Include?
Review the title, audience, angle, section count and approximate length. The generated title initially needed correction, so the tutorial changes it before creating the article. This is the right point to catch a mismatch: correcting the plan is simpler than rewriting a finished article that answers the wrong question.
The plan shown has five sections and a target of about 900 words. Leave images at zero for the initial creation if you want to review the text first, then select Create. After generation, select Open post and open the post card in the blog editor.
5. Review the actual article, not just the plan
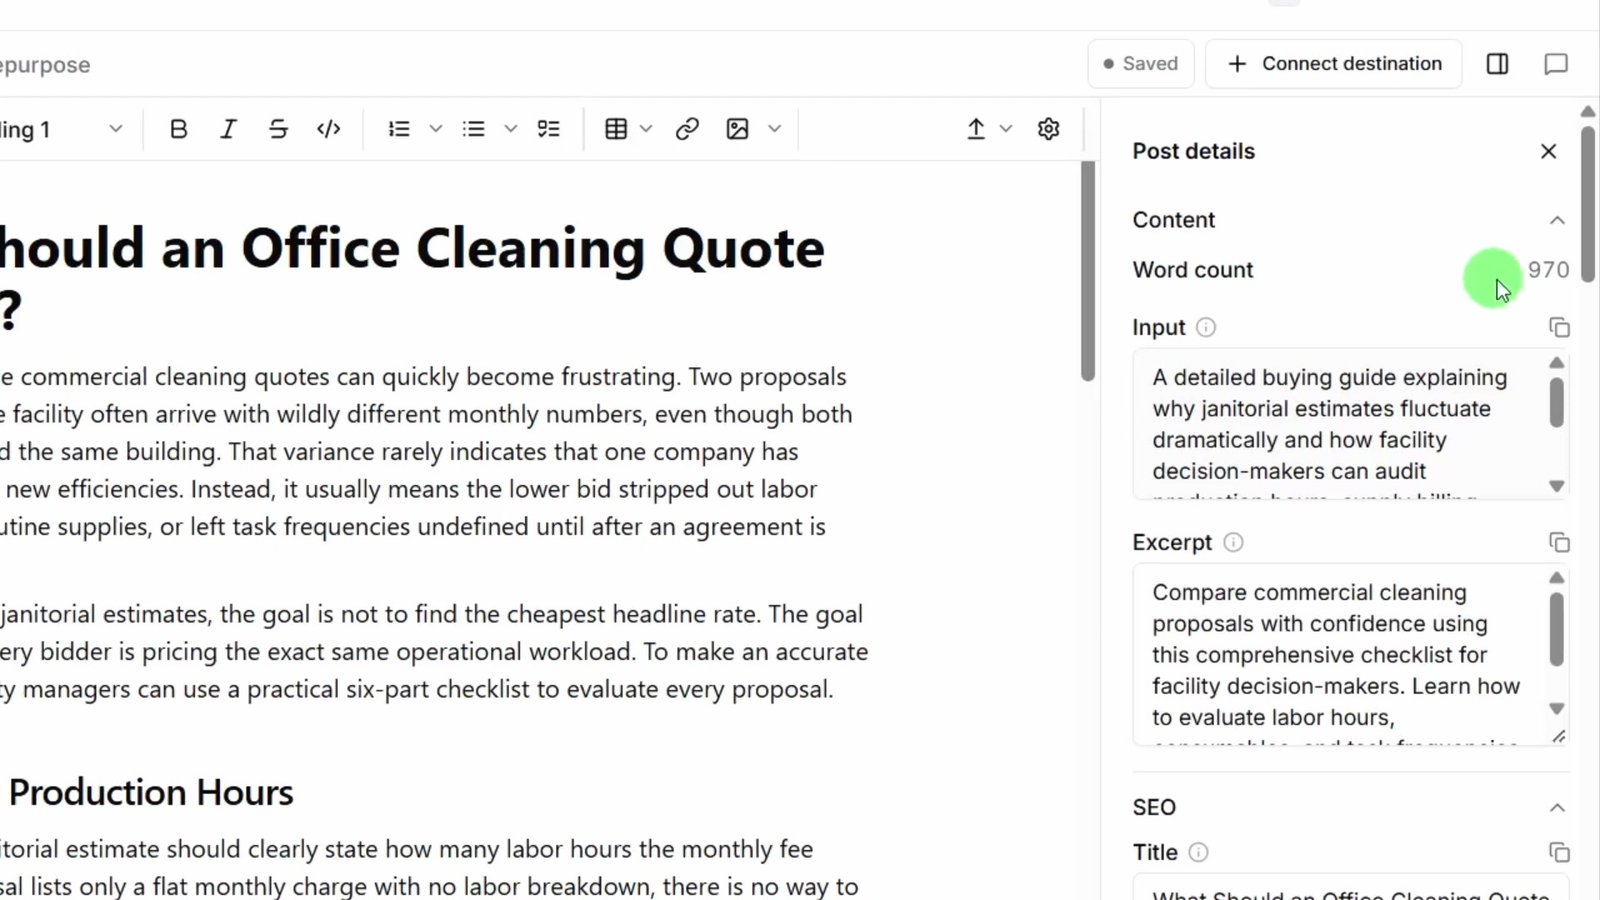
Read the article in the editor and open Post details. The tutorial finds a substantial difference between the requested length and the generated draft: the first version is around 2,500 words. A target in the plan does not replace checking the finished output.
Use the post’s chat to request a focused revision. Tell it what to keep, what to remove and the desired length. Review the revised text and ensure it is applied to the article itself. In the walkthrough, the revised copy is pasted into the editor, and Post details then shows 970 words.
Also check the excerpt, search description, headings and call to action. Replace vague or default wording with a clear description of the question the article answers. Review sources and specific claims before publication, particularly any claims about what a business provides or what a reader can expect.
6. Generate a relevant featured image
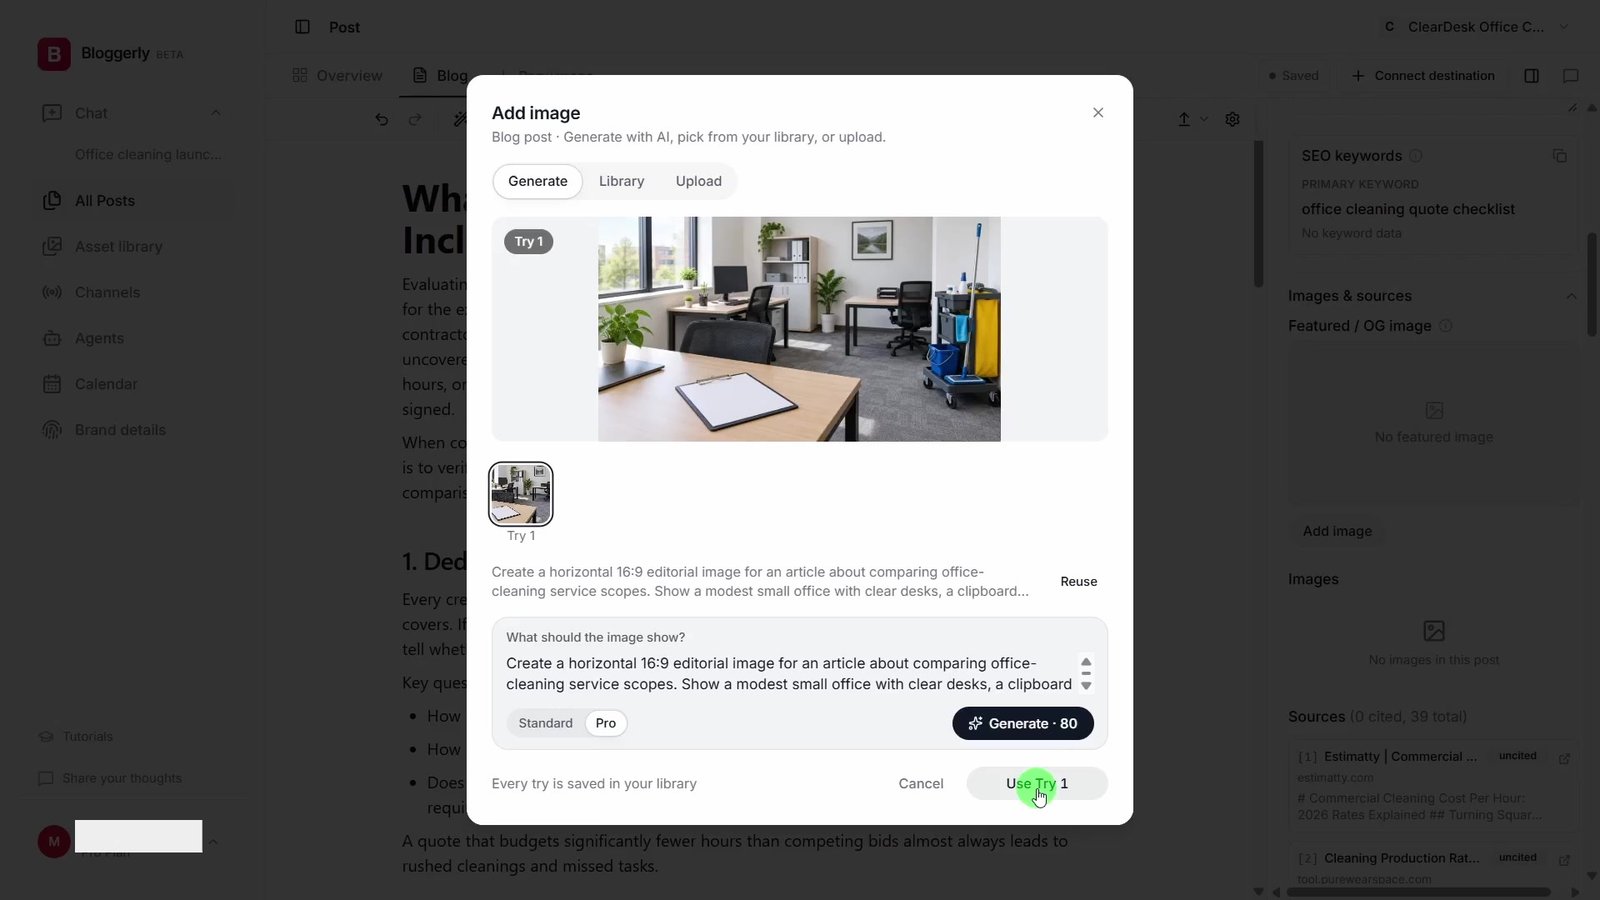
In Post details, locate Featured / OG image and select Add image. You can generate an image, choose an existing asset or upload your own.
For this article, a modest office with clear desks, a clipboard and cleaning equipment supports the topic better than a generic robot or abstract AI graphic. Describe the subject, setting, composition and aspect ratio. The tutorial generates a horizontal office image and selects the result after reviewing it.
Create a horizontal 16:9 editorial image for an article about comparing office-cleaning service scopes. Show a modest small office with clear desks, a clipboard and cleaning equipment. Keep the scene professional and realistic, with no logos or readable text.
Inspect the result at a useful size before selecting it. The image should reinforce the article’s subject without implying services, facilities or results the business has not established.
7. Repurpose the article for LinkedIn and X
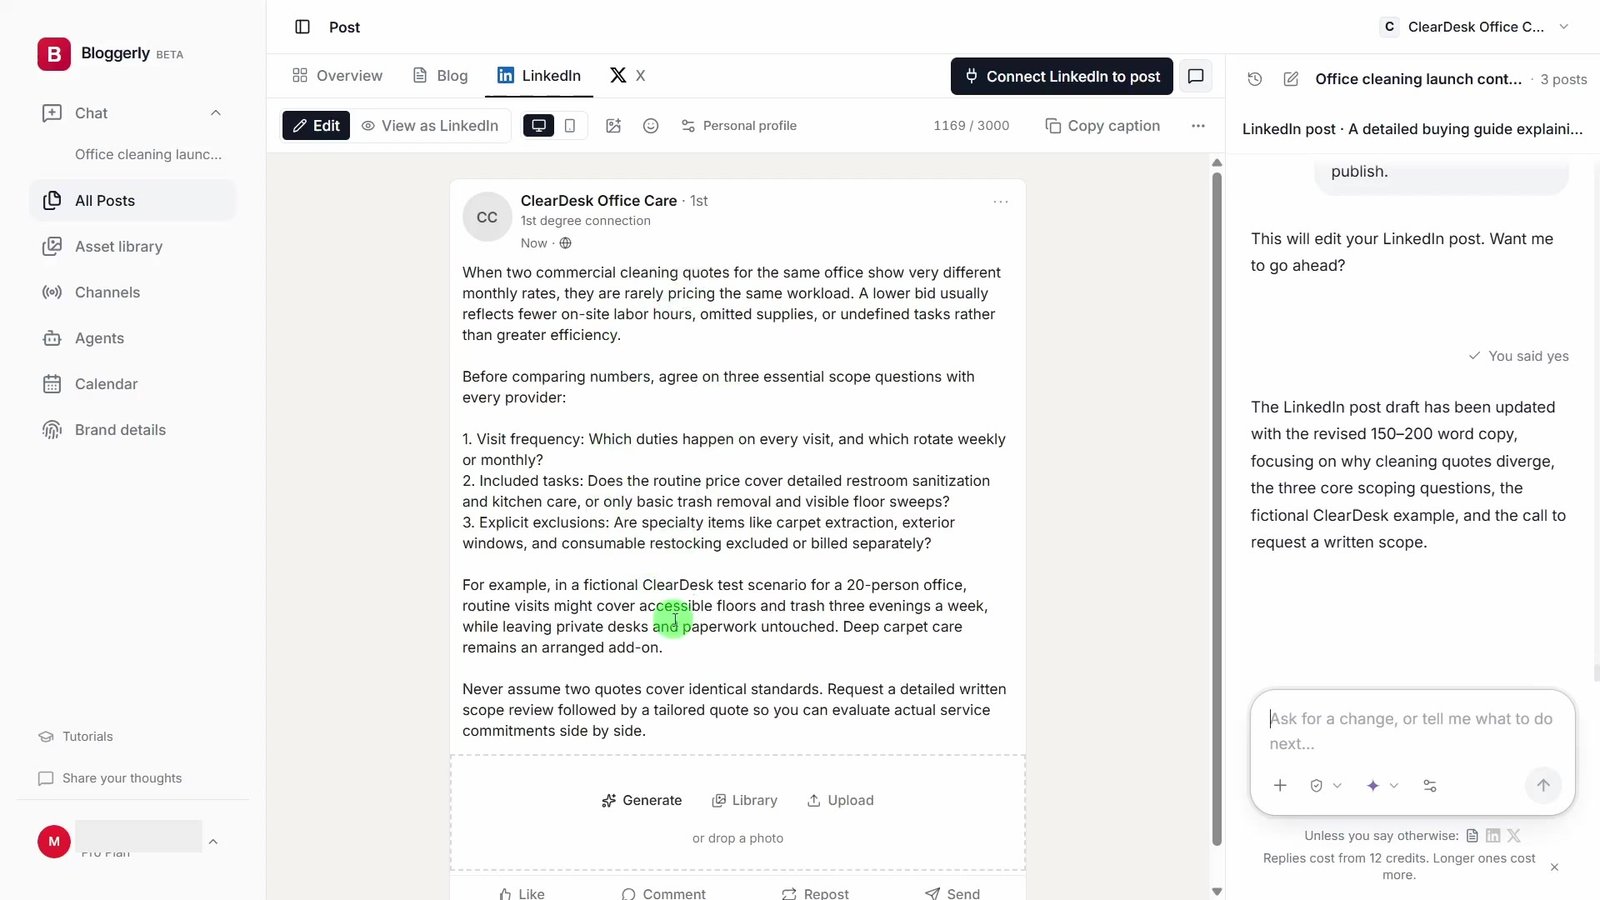
Select Repurpose in the blog post. Create the LinkedIn version, then create the X version. The tutorial turns off the image option for the LinkedIn text post.
Read each version separately. A social adaptation needs a clear point that works without the full article in front of the reader. In the walkthrough, both initial social drafts are revised rather than posted unchanged.
For LinkedIn, the revision asks for 150–200 words aimed at office managers and three questions about visit frequency, included tasks and exclusions. This gives the reader a useful comparison they can act on. For X, keep one concise takeaway and a clear next step rather than compressing every section of the article.
When revising, identify the existing post and say to edit only that version. Review the change and any confirmation request before applying it. Reopen the post to check the saved result.
8. Connect the publishing destinations
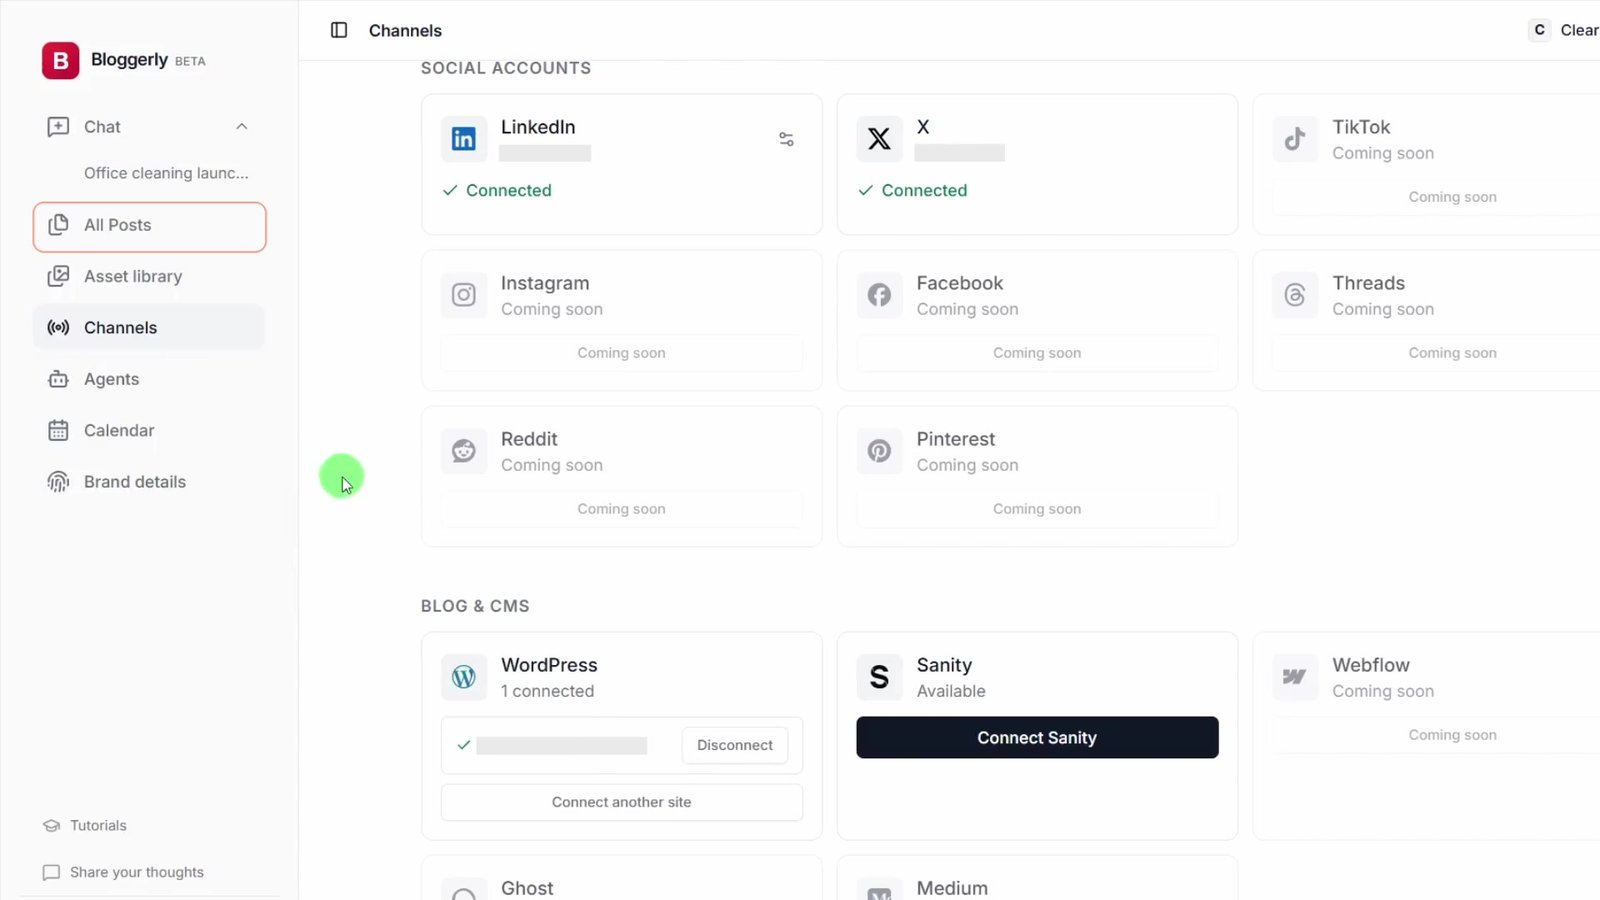
Open Channels. Connect LinkedIn and X through their account-authorization screens, checking that you select the intended account. Then connect WordPress if you want Bloggerly to send the article to your website.
The WordPress connection asks for the website name, URL, username and an application password. Use a dedicated WordPress application password rather than entering your normal administrator password. The walkthrough creates it in the WordPress user profile under Application Passwords, then returns to Bloggerly to complete the connection.
Keep credentials out of prompts, screenshots and public content. After connecting, confirm the destination shown in Channels and then reopen the correct article in All Posts.
9. Choose draft, schedule or publish, then verify
For the blog article, use the menu beside Post now to choose the appropriate publishing action. The tutorial shows scheduling and an advanced option for sending the post as a WordPress draft.
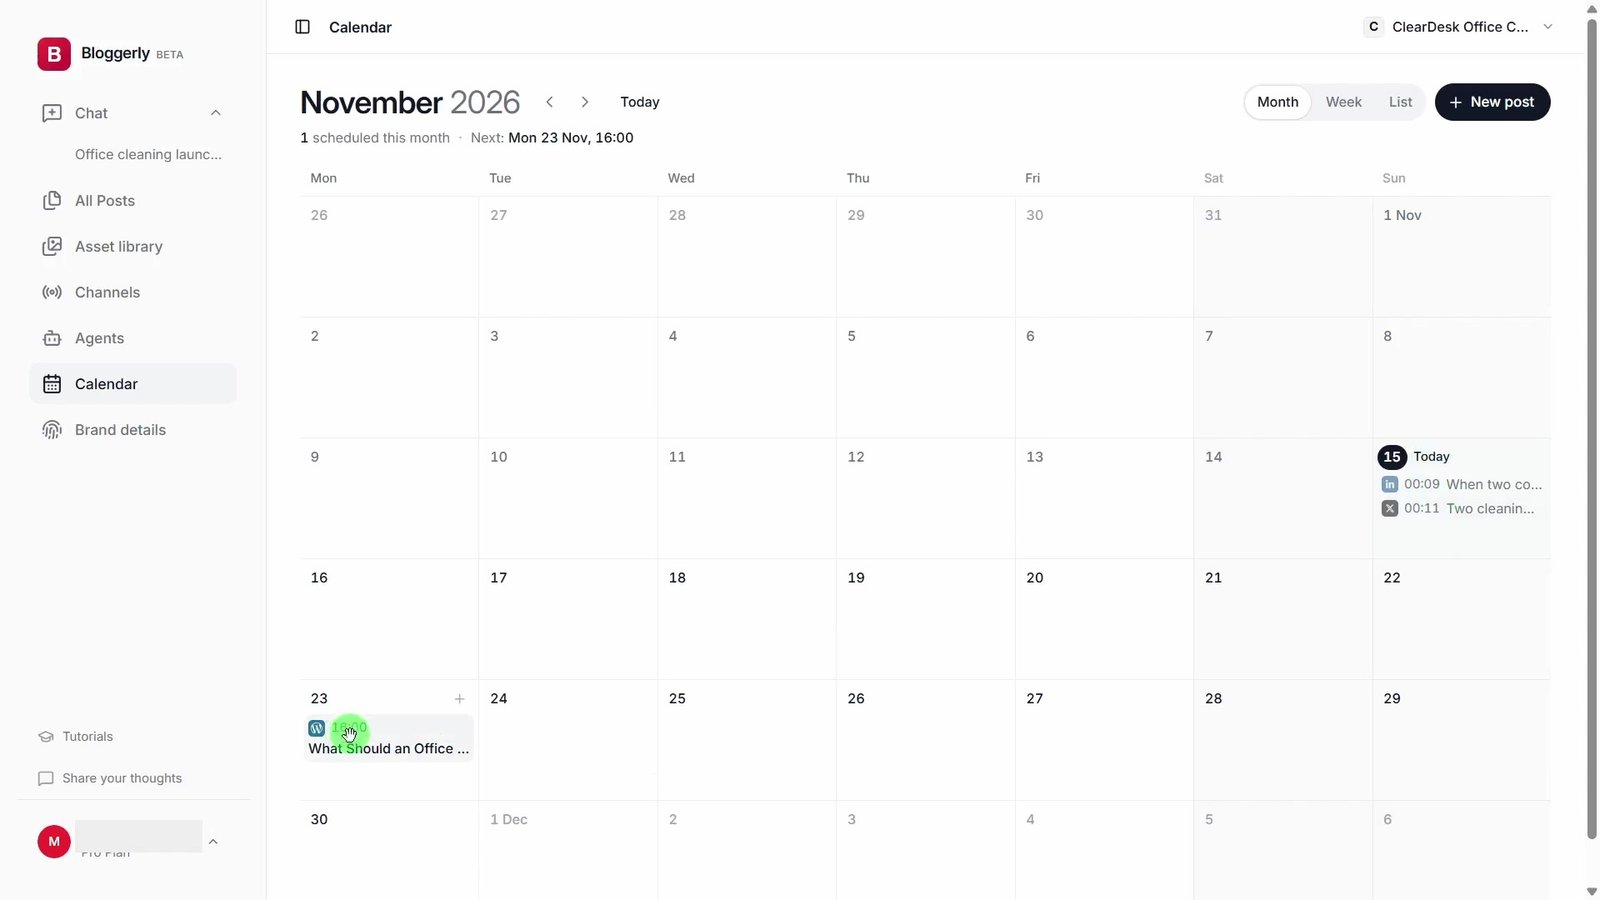
Select the intended date and time, check the scheduling context, and confirm the result shown on the post. In the recorded example, the article displays a scheduled status. That should be described as scheduled, not as already published.
The LinkedIn and X versions are posted separately in the demonstration, then checked on the destination platforms. The calendar provides another view of the published social posts and the scheduled blog article.
Before publishing your own content, check that any article link in a social post will work when the post goes live. If the article is scheduled for later, coordinate the social timing or use a standalone social message that does not send readers to an unavailable page.
10. Continue the workflow from ChatGPT through MCP
Open Agents in Bloggerly and select its ChatGPT connection instructions. MCP connects an AI assistant to the actions and information supplied by another application, so you can continue working with the same Bloggerly account from a conversation.
The recorded setup copies Bloggerly’s connection URL, adds a custom MCP server in ChatGPT, keeps OAuth authentication, and completes the account-approval flow. Use the connection URL and instructions provided in your own Bloggerly account. Review the access requested before approving it.
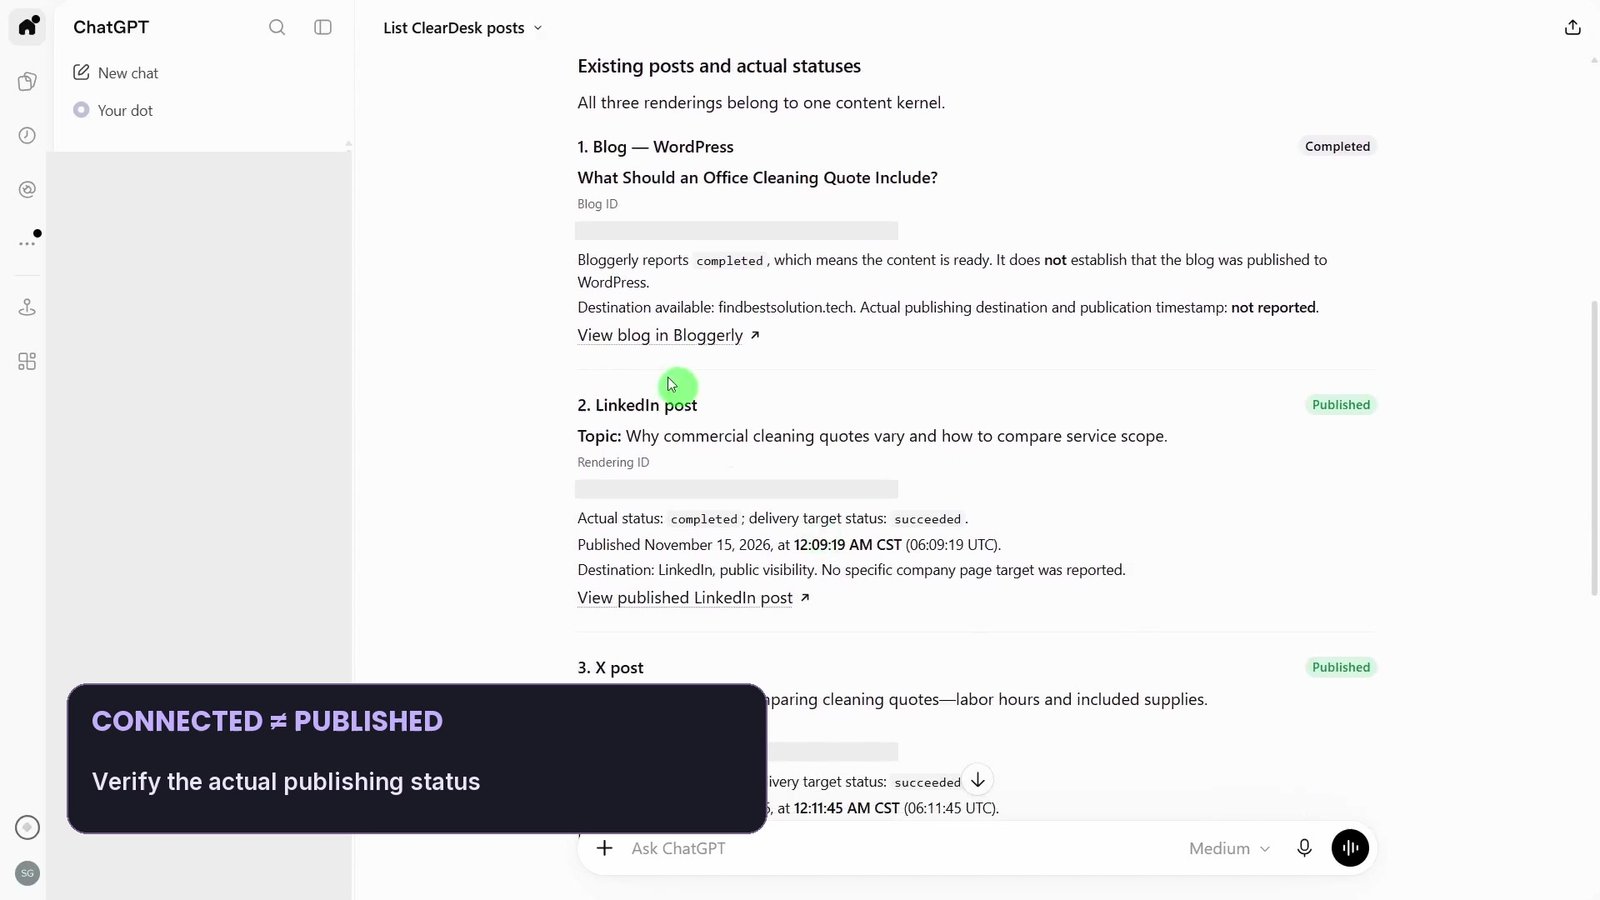
Start with a read-only check. This confirms that the assistant can find the right brand and distinguish saved content from delivery status.
Find the ClearDesk Office Care brand and list its existing posts with identifiers, titles, actual status, destination and date/timezone if available. Do not create, edit, schedule or publish anything. Do not assume there is a campaign object or calendar API. If the available tools cannot read a field, say so rather than guessing.
The recorded response distinguishes the completed blog content from publication to WordPress, while showing successful delivery for the social posts. A connected destination or a completed content-generation status is not, on its own, proof that something is live.
11. Prepare the next article without publishing it
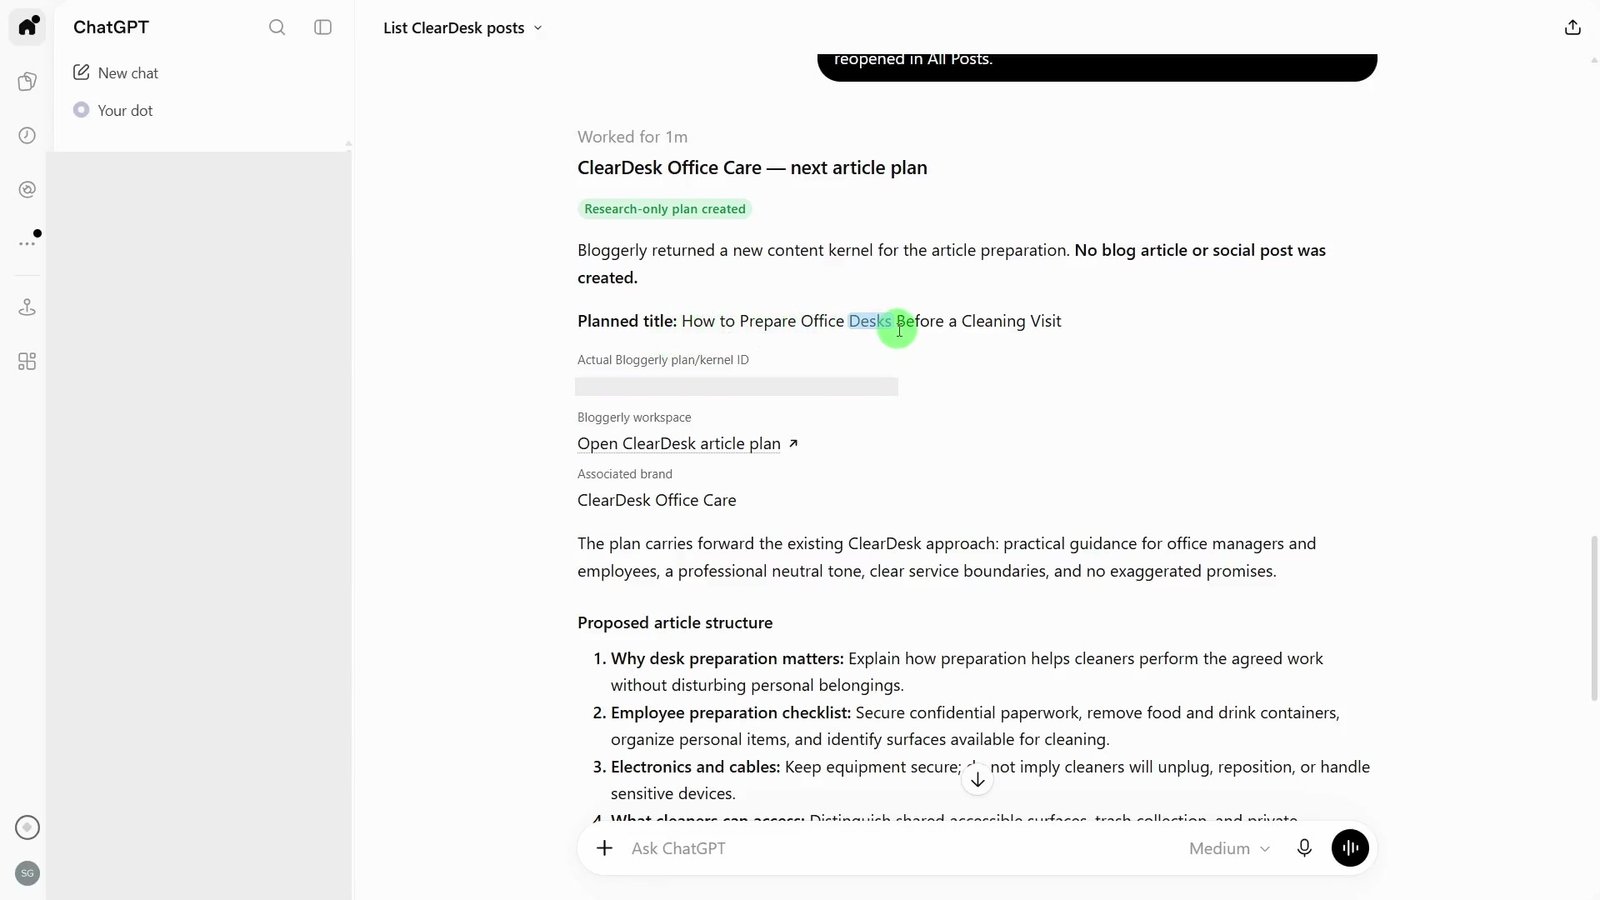
With the account and existing work identified, ask for the next private content plan. The walkthrough continues with How to Prepare Office Desks Before a Cleaning Visit, reusing the ClearDesk brief and its service boundaries.
Using the existing ClearDesk brand brief, prepare a private Bloggerly content plan for the next article about preparing desks before a cleaning visit. Reuse the campaign tone and exclusions. Do not assume a campaign/folder object exists. Do not connect accounts, schedule, publish or create additional articles. Report the actual plan identifier/link and the supported next creation action. Do not claim a saved article exists until the post is actually created and can be reopened in All Posts.
The result shown is a research-only plan, not a new finished article or social post. Keep that distinction clear when handing work between the Bloggerly interface and an assistant. The next creation step should use the returned plan rather than starting a disconnected duplicate.
Turn this into a repeatable business workflow
Keep the brand brief and writing style consistent, but give each article a different customer question. Review the plan, inspect the generated article, adapt the social posts and verify the delivery result. The tutorial’s most useful checkpoints are the corrected title, the shortened article, the rewritten social drafts and the explicit distinction between a private plan and a published post.
For a service business, track the enquiries and quote requests that come from the content, then which quotes become customers. Those outcomes give you a clearer direction for the next article than publishing more variations of the same general topic.
Explore more practical walkthroughs in our video tutorials.